
|
home gallery |
| projects philosophy faq | |
 |
free plans: how to make a Wall Mirror |
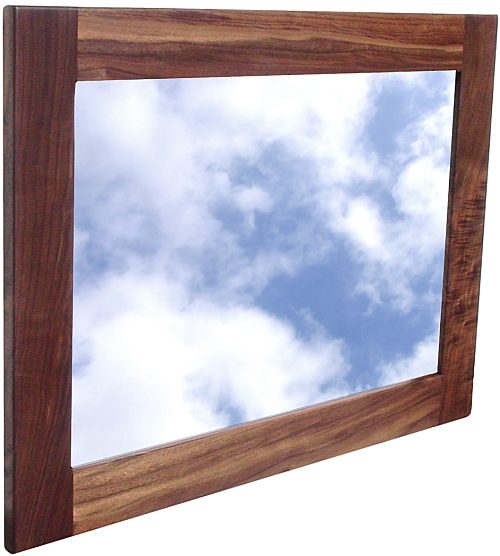
| Basic Description | Here is a free plan for a framed wall mirror that uses mortise and tenon joinery. You can use the same technique described below to display photographs or paintings. This project requires a relatively small amount of wood and with sufficient sanding and proper finishing, you can achieve a fantastic wall hanging that will make your room appear bigger and more airy. |
| Materials | Wood for frame, mirror, mounting hardware, wood glue, finishing oil, recommended: backing board (hardboard or cardboard). A complete material list is provided below. |
| Tools | Table saw, drill press, various clamps, sandpaper. optional: router with roundover bit. A complete tool list is provided below. |
| Cost | The plan itself is free! Estimated cost of materials: $20 |
| Time | 3 hours |
| Difficulty | Easy |
| Legal Notice | Use of this website constitutes acceptance of our terms of service policy. |
| Similar Projects | If you enjoy this project you may also be interested in our free plan for a framed weave. |

The first step involves acquiring the necessary materials and proper tools. It is best to get everything prepared and set-up before commencing because you become free to progress without unnecessary interruptions.
| Item | Qty. | Description |
| #1 | - | Wood for frame. We cut four pieces out of one walnut board. You can use any size you like; the finished dimension of the pieces in our case was: (2) 7/8" x 2 1/2" x 22" (22 x 64 x 556mm) and (2) 7/8" x 2 1/2" x 18" (22 x 64 x 456mm). |
| #2 | 1 | Mirror. |
| #3 | - | Wood glue; we used polyurethane glue |
| #4 | - | Finishing oil |
| #5 | 1 | Recommended: backing board (hardboard or cardboard the same size as mirror) |
| #6 | 1 | Mounting hardware |
| Tool |
| table saw with miter gauge or crosscut sled |
| measuring tape |
| drill press or mortiser |
| clamps |
| sharp chisels |
| square |
| sander and varying grits of sandpaper |
| if you are starting with rough lumber, you will need a jointer and planer |
| router with rabbeting bit (optional: roundover bit) |
We recommend that you read through the entire plan and especially the design considerations section before acquiring/assembling all of the requisite tools and materials. There are several options with this project, and it is most prudent to be fully informed of them before making design decisions.
|
© 2000-2008
terms privacy policy |
home gallery |
| projects philosophy faq | ||