
|
home gallery |
| projects philosophy faq | |
 |
free plans: how to make a Plinko |
| Basic Description |
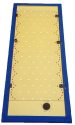
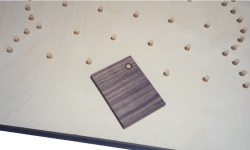
Here is a thoroughly enjoyable project that you can mount on any wall. It's a plinko display in which you place a thin puck at the top and let go. The puck randomly bounces its way amongst a series of pins to the bottom where it is held in place by some hidden magnets. While it may look simple, it takes patience and requires some precise work. We made ours to be 5' (1.5m) tall. We think that you will love making and playing with this project! |
Before inserting the pegs, you should sand the face of the plywood. We used a random orbital sander until all of the burr and markings were gone and we had a smooth even surface. To control the depth of the pegs, we drilled a 1/2" (15mm) hole in a scrap piece of wood that was the same thickness as the amount that we want the pegs to protrude above the surface of the plywood. See the photo on the right. We recommend yellow wood glue for this step. With a small stick, apply a couple of drops of glue to the inside edge of 10 or 20 holes. Tap the pegs in until they are flush with the top surface of the jig. Make sure that you are leaving the good side of the pegs out - if you invert a few, you can always sand them while they are in place. |
 |
|
© 2000-2008
terms privacy policy |
home gallery |
| projects philosophy faq | ||