
|
home projects suggestions |
| philosophy faq | |
 |
free plans: how to make a Yo Yo |
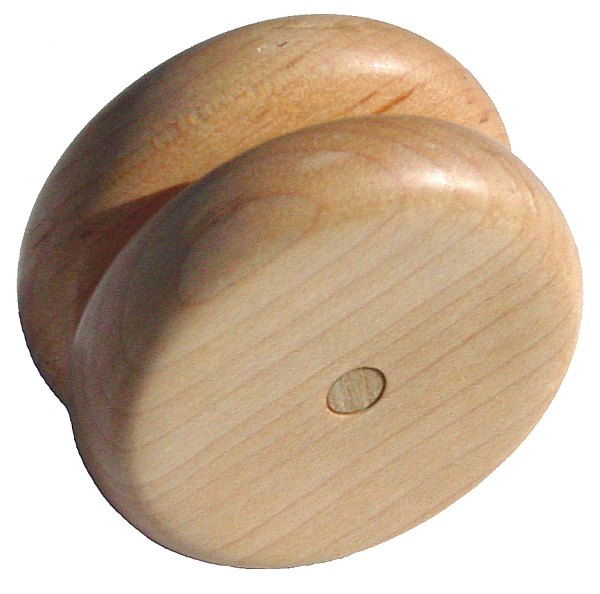
| Basic Description | Here is a great example of the power of doing it yourself. Despite also owning a few high-tech yo-yos, this homemade yo-yo is the one I use most often. The size and shape are all custom fit to my hand. Most importantly, the fact that I made it incorporates a level of satisfaction to yo-yoing that a manufactured yo-yo cannot match. This is a simple and classic project that also makes a great gift, and you won't believe the functionality that you can create. |
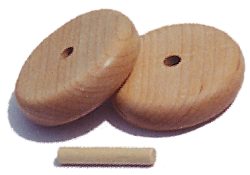
Now all the pieces are ready for a finish. You can use a stain and follow with a polyurethane but you shouldn't put any surface coatings on the insides of the yo-yo discs. We used antique oil which is an oil/ varnish blend consisting of mineral spirits, oil, and a spar varnish. Since antique oil soaks in and doesn't leave a coating, you can finish all the pieces entirely. After wiping the oil on with a brush and waiting for about 5 to 10 minutes, we wiped of the excess with a clean rag. We let it dry overnight and repeated this process two more times. For more information regarding finishing, consider Understanding Wood Finishing by Bob Flexner. Alternatively you may want to paint the yo-yo. This may be particularly desirable if you are using plywood as opposed to hardwood. Follow the paint manufacturer's directions. Avoid painting the axle, the inside surfaces of the yo-yo and the interior of the holes of the yo-yo discs. |
 |
|
© 2000-2008
terms privacy policy |
home gallery |
| projects philosophy faq | ||