
|
home gallery |
| projects philosophy faq | |
 |
free plans: how to make a Curved Photo Stand |
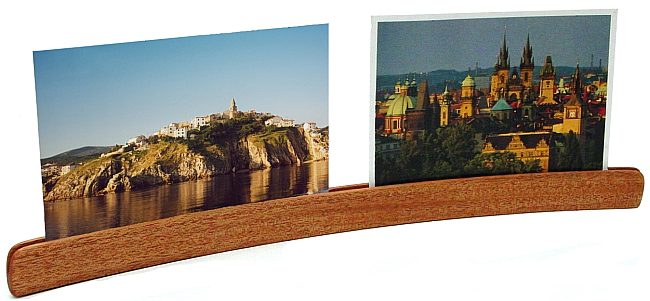
| Basic Description | This curvaceous sliver of wood is assembled from a set of thin strips; it can be used to display photos, cards and notes. The sinuous curve is much more than a design element: it provides stability and increases the rigidity of whatever you hold with the central groove. These 'curved photo stands' make great gifts, and they can easily be made out of leftover material. |
Next you need to prepare the clamping jig that will allow you to clamp the strips of wood in the desired orientation. A generous arc is critical because the curve serves two functions. First the curve provides stability to the photo stand insofar as it increases the footprint without using extra material. Second the curve, holds the cards or photos in a curved shape which introduces rigidity and helps them stand upright. The curve should be generous, but you won't be able to exceed the flexibility of the wood strips you are using. Try flexing the strips that you cut in step 1 and create the jig accordingly. We trimmed off another thin strip off the end of the piece of MDF or plywood to serve as a guide for drawing the arc. An extra set of hands can be helpful here, but it is not required (you can creatively use clamps to flex the strip into the desired shape). Draw a line and carefully cut with a bandsaw or jig saw. The image on the right displays the simple clamping jig. Note that an arc made with a strip of wood tends to straighten. |
 |
|
© 2000-2008
terms privacy policy |
home gallery |
| projects philosophy faq | ||