 |
making a Mission Bed |
| Overview |
At UNIQUEPROJECTS we focus on providing our users
with unique project plans. To keep our endeavor afloat, however,
we occasionally work on side projects. Those
who are interested, can follow along the process of constructing a mission style bed for a client.
|
| Pages |
Since this section is image intensive, we have broken it up into the following pages:
|
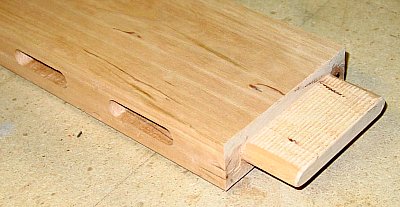
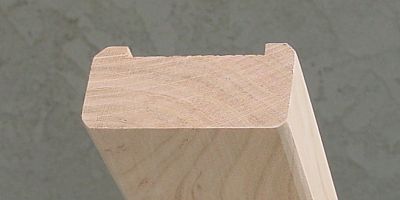
| After completing the slats, I returned to the rails
and stretcher. Here is a view of a completed tenon that will be mated in a mortise in one of the
bedposts. The purpose of the tenon is to create a large gluing surface between the rail and
the post -- this will create an extremely strong joint that will last many lifetimes.
|  |
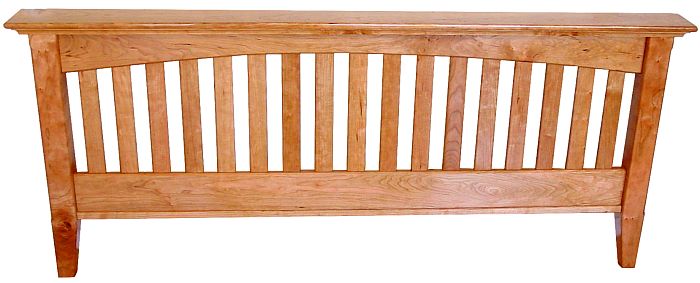
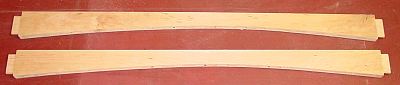
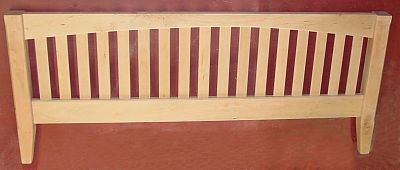
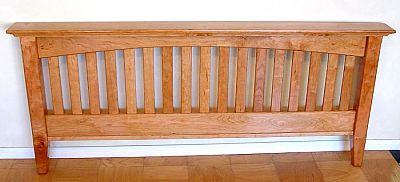
| The top two rails of the headboard and footboard have slight
arcs cut into them. |
 |
|
|
| Here are the completed tapers on the bed posts along with the
mortises that will receive the rails to create the headboard and footboard. |
 |
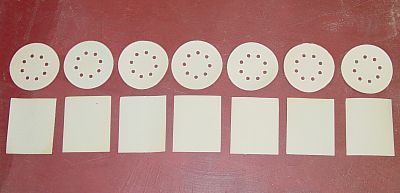
| Next, I focused my attention to the slats. Since the top rail
is curved, I sized the slats to fit completely within their respective mortises. I rounded
all the edges of the slats to fit within the rounded mortises; I numbered the slats to
get a custom and snug fit on each. |
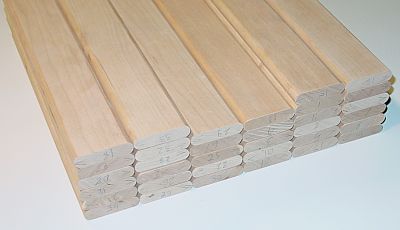 |
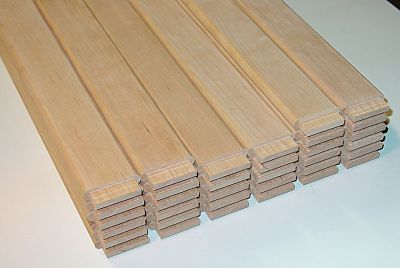
| The bottom of each slat received a tenon that will be
inserted into smaller mortises in the bottom rails. I began some sanding, but there will be plenty
more to do. I have strayed from the plan so that I will be able to sand all the components
before assembly; this will allow me to sand in areas that would be difficult to access after
the pieces are assembled. |
 |
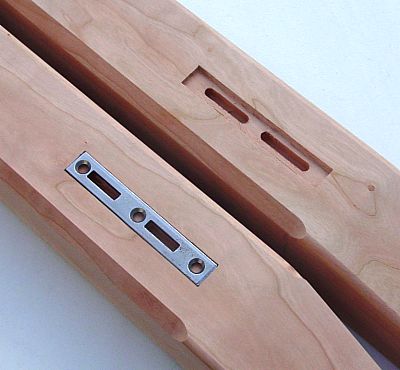
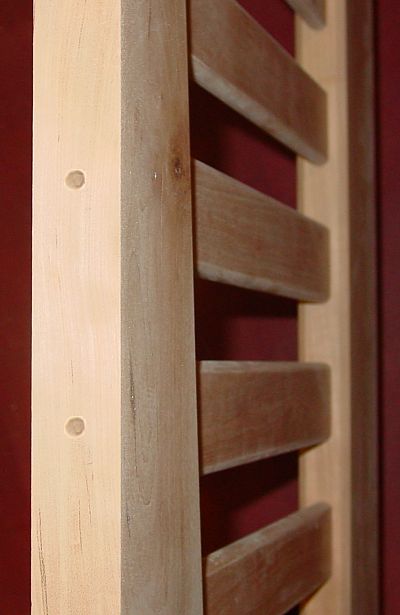
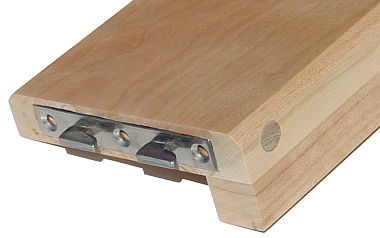
| Today I completed all of the details required on the posts. Almost
all of the edges received a roundover and I created stop chamfers on the two outside edges of
each post. The bed rails (the boards that will span between the headboard and footboard) will
be attached with heavy duty bed rail fasteners. This hardware will allow the bed
to be disassembled and transported easily but maintain tremendous strength. The image
on the right shows one of the special mortises and one of the bed rail fasteners. |
 |
|
|
| Sanding, sanding, sanding. A beneficial feature the construction method that
I am using is that
all parts can be sanded thoroughly before assembly. I spent most of the day sanding using a random orbital sander and then using 1/4 sheets of sandpaper along
with a simple sanding block for
those areas that require hand sanding. |
 |
| The short open time of wood glue would normally
make the assembly of the footboard and headboard very difficult considering
the number of slats to deal with. While I considered dealing with the problem by enlisting
several helpers, I devised a unique solution
to the problem. First, I drilled through holes from the bottom of the mortises to the edge of the rails.
Then I dry-assembled all of the slats between the rails and then glued the rails to the posts. I
used heavy duty ratcheting strap clamps to ensure that the rail tenons were fully engaged in their respective
post mortises. When that dried, I drilled through the holes that I drilled earlier and penetrated
about 1/2" (13mm) into the top of each slat. Finally I tapped in and glued in some dowels to lock each
slat in its proper place. As you will see in later steps, additional wood will be mounted above the
top rail which will hide the holes used for the dowels. This method made the assembly process worry-free,
yet yields very strong assemblies. |
 |
| A nice thing about beds is that one side of the headboard and
footboard will always be hidden. Although
all of the wood I used is beautiful, I was able to select a a very homogenous combination of wood to enhance
the sides that will be visible. |
 |
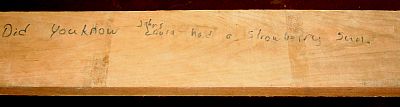
| This strange message was written on one of the rough boards
that I am using for the bed details. |
 |
| The plan calls for this edge cap under the bottom rail used
to hold the slats in place; the construction method I am using does not require it but
I am including it for aesthetic reasons. Since this edge cap will be hidden by the mattress
on the headboard, I am omitting it there. |
 |
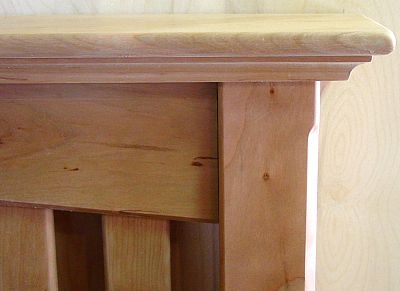
| The final detail on the head and footboards are a pair of
boards that serve as caps. The lower board has a cove routed around the periphery and the slightly
larger top board includes a bullnose. They are attached with glue and a pair of dowels. |
 |
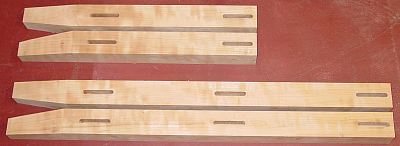
| Here is a close up of one of the two side rails that will support the
mattress and box spring. You can see the other half of the bed rail fasteners that will engage
with the head and footboards. Creating
the mortises in the end grain was challenging, but they came out well. Notice the dowel
that is glued in place so that the screws for the bed rail fastener will have some strong wood
to grasp onto (screwing into end grain would be much weaker). |
 |
| After the first coat of oil finish dried,
I thoroughly rubbed all surfaces with 0000 (4 aught) steel wool. I am very pleased with the finish: all of the
sanding paid off. While you can only fully appreciate a fine wood finish in person, here is an enlarged view. |
 |