 |
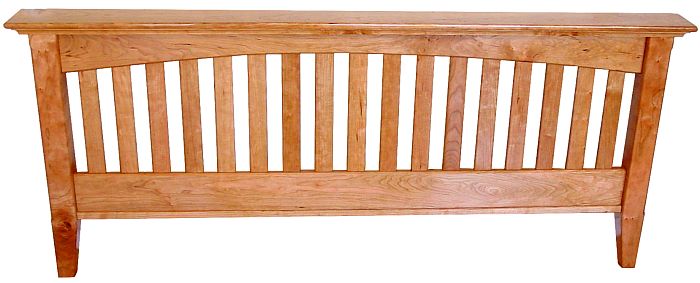
making a Mission Bed |
| Overview |
At UNIQUEPROJECTS we focus on providing our users
with unique project plans. To keep our endeavor afloat, however,
we occasionally work on side projects. Those
who are interested, can follow along the process of constructing a mission style bed for a client.
|
| Pages |
Since this section is image intensive, we have broken it up into the following pages:
|
| I am a little disappointed with the plan itself. Although the
design yields a beautiful and strong bed, it requires the slats to be tapped through slots cut in the top
rails. This tapping will scratch and mar the slats which will require them to be sanded thereafter.
Unfortunately, sanding the slats in place will require sanding into corners which is virtually impossible.
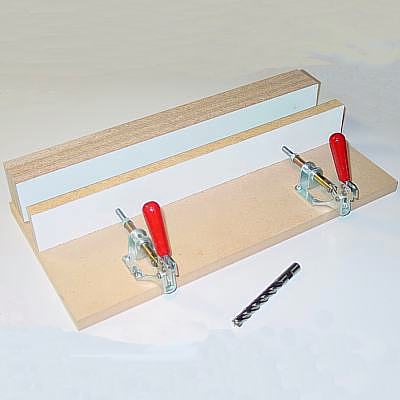
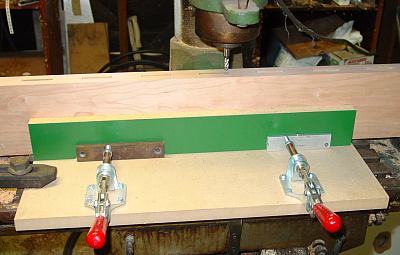
I have devised an entirely new way to construct the headboard
and footboard, which involves the custom jig and bit shown on the right. Their use will become clear as
we proceed.
|  |
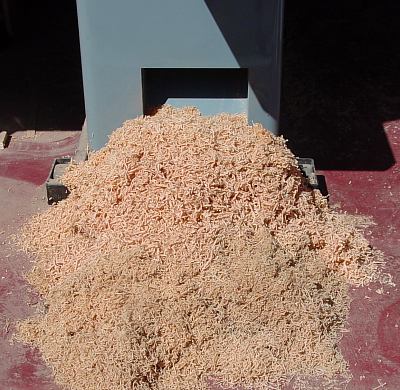
| I spent most of the morning determining what wood I was going
to use for the different parts of the bed. There are slight variations in color and grain pattern
and I wanted the similar features to be near eachother. After determining the layout, I began
to rough cut the lumber and then surface the four rails and one stretcher required for the bed (two
between the posts of the footboard, and three between the posts of the headboard). Needless
to say the jointer had a busy morning.
|  |
|
|
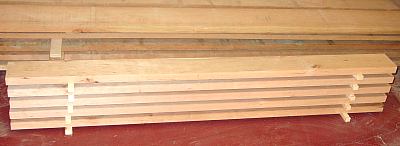
| After all of the surfacing, I had the four rails and one
stretcher and immediately placed them on stickers in the shop. You can see the remaining rough lumber behind the freshly surfaced boards.
|  |
| A total of 34 slats will be used between the rails of the headboard
and footboard. Each one will be secured with mortise and tenon joinery, and since it is always
best to begin with the mortises (and fit the tenons to them thereafter) I started the lengthy task
of making all of the mortises with the jig made earlier.
|  |
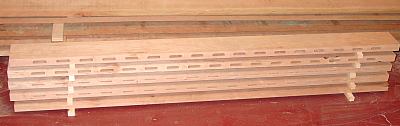
| Here is the same stack of boards but with all of the mortises - 68 in all!
Note that there are two different sizes of mortises: the reason will become clear later.
|  |
|
|
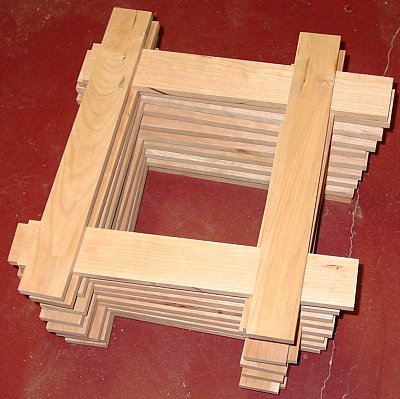
| The 68 mortises receive 34 slats. I made them by resawing some thick wood
in half and then surfacing them all down to the proper width. I made a few extra so that I could
discard those that had imperfections (knots, sapwood etc). It took quite a long time to get to
this stage, but I am very satisfied with the wood and color similarity of all the pieces.
|  |