 |
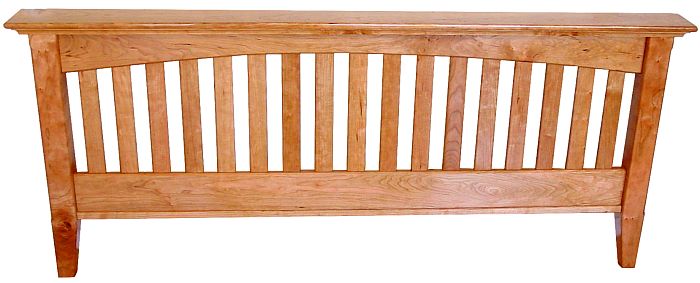
making a Mission Bed |
| Overview |
At UNIQUEPROJECTS we focus on providing our users
with unique project plans. To keep our endeavor afloat, however,
we occasionally work on side projects. Those
who are interested, can follow along the process of constructing a mission style bed for a client.
|
| Pages |
Since this section is image intensive, we have broken it up into the following pages:
|
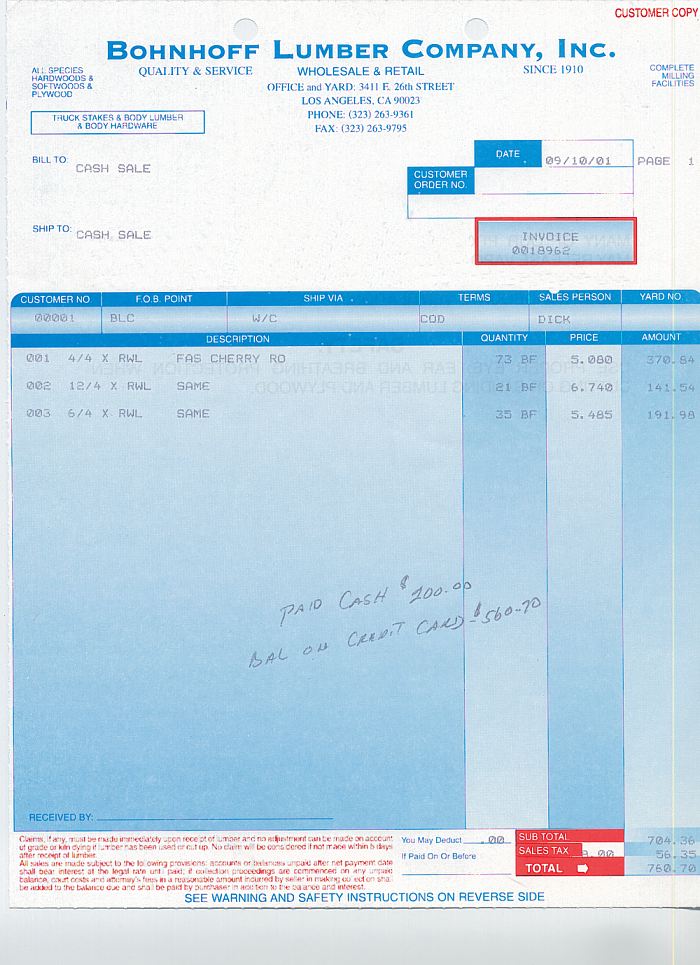
| After the client and I discussed the styling,
type of wood to use, and the terms, the first step was to purchase the lumber. I chose
Bonhoff lumber in Los Angeles due to the large selection and reasonable prices. I arrived
at about 10 in the morning and asked for three thicknesses of cherry: 4/4 (1" or 25mm), 6/4
(1 1/2" or 38mm), and 12/4 (3" or 76mm). It certainly is not the prettiest of places, but they do
have a wonderful selection of wood. |
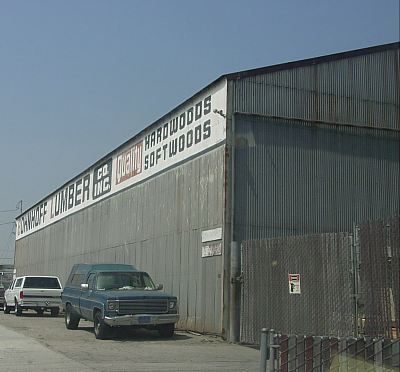 |
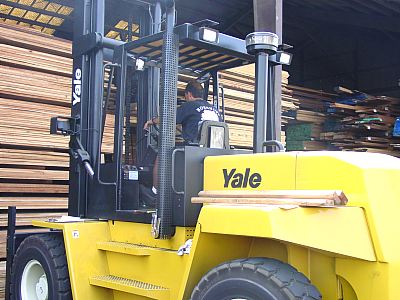
| Bonhoff stacks the lumber nearly to the top of their
warehouse. Although it's an efficient use of space, access to the material relies on their remarkable
forklift driver, Phil. He can pull out a stack of wood three rows in, in a matter of minutes. In this picture, Phil is moving some beautiful quartersawn wood. |
 |
|
|
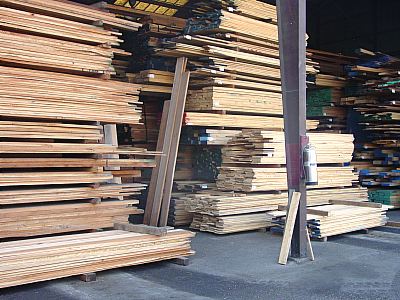
| Once you have access to the boards, it takes quite a long time
sifting through what they have available. I needed about 80 board feet for this project - it's
going to be a very heavy bed! A high percentage of the boards had sapwood (lighter color just
beneath the bark of the tree) and it took a long time sorting through. I was also looking for wood free
from defects and knots, and ones that were of like color. After a couple of hours, I took
a break for lunch. By the time I was finished, I had spent a total of 5 hours! |
 |
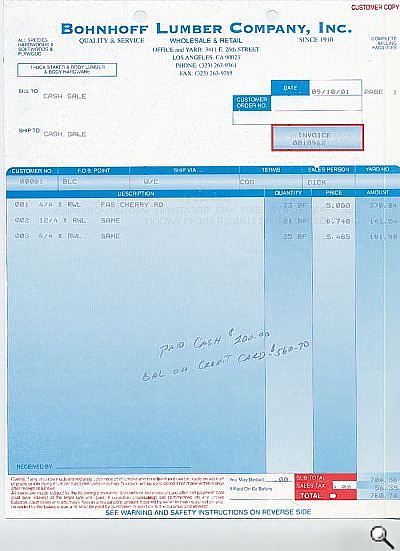
| When you are done, Phil comes by with his calculating stick
and figures how much lumber you pulled (and in concert with industry standard, rounding up whenever
possible). I was buying wood for the bed and another project I am working on (a table) but about 3/4 of
the material is designated for the bed. The total was $760! Click the image to see
a larger view of the receipt. |
 |
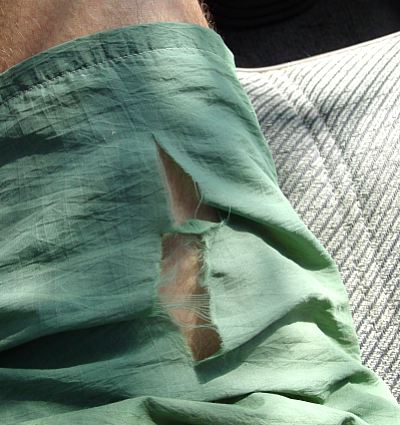
| I paid attention not to get a splinter and
not to strain my back lifting all those boards, but just after i paid and sat in the truck, somehow
my shorts ripped! |
 |
|
|
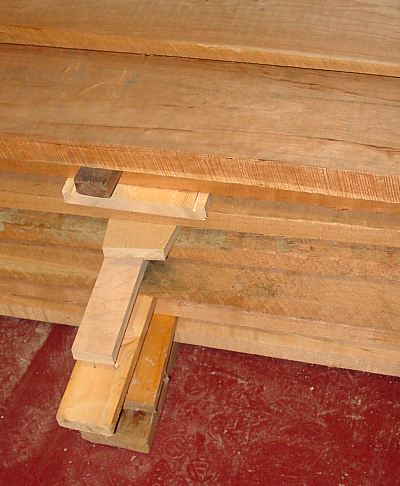
| I stacked the wood on 'stickers' in the workshop. The space
between the wood ensures that there is sufficient airflow around all of the boards; this helps to minimize
cupping, bowing and warping.
|  |
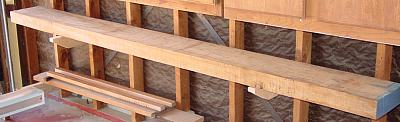
| The 3" (75mm) thick board is being stored on a wall shelf. This orientation
allows air to flow around the entire board and prevent excessive warping.
|  |
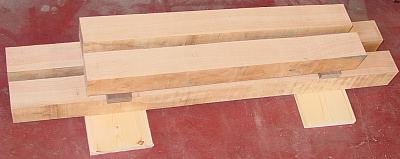
| Here are the four posts of the bed cut out of the huge board shown above.
The two longer ones will be used for the headboard and the shorter ones for the footboard.
|  |