
|
home gallery |
| projects philosophy faq | |
 |
free plans: how to make a Curved Photo Stand |
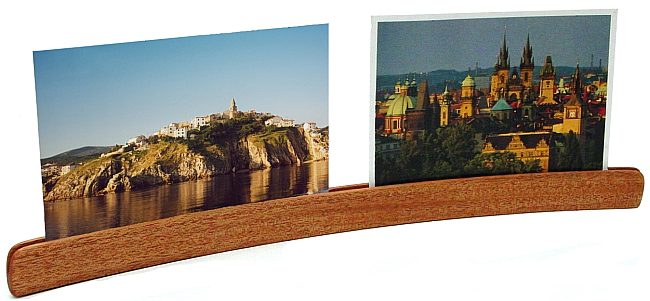
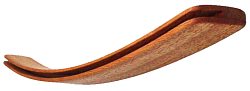
| Basic Description | This curvaceous sliver of wood is assembled from a set of thin strips; it can be used to display photos, cards and notes. The sinuous curve is much more than a design element: it provides stability and increases the rigidity of whatever you hold with the central groove. These 'curved photo stands' make great gifts, and they can easily be made out of leftover material. |
Once the glue has dried, you can unclamp and begin to sand the curved photo stand. Since the piece is so small you can simply round over all the edges and give a curved profile to the ends with a low grit sandpaper. Alternatively, you can provide a profile with a disc sander. Next, perform all the requisite sanding: we sanded with 100, 120, 150, 180, 220, 320 and 400 grits. Once the photo stand has been sanded, it is ready for a finish. You can use a stain and follow with a polyurethane. We used antique oil which is an oil/ varnish blend consisting of mineral spirits, oil, and a spar varnish. After wiping on with a brush and waiting for about 5 to 10 minutes, we wiped of the excess with a clean rag. Make sure you wipe away any excess finish in the groove so that there isn't any interference with the photos that will be inserted. We let it dry overnight and repeated this process two more times. For more information regarding finishing, consider Understanding Wood Finishing by Bob Flexner. |
 |
|
© 2000-2008
terms privacy policy |
home gallery |
| projects philosophy faq | ||