|
free plans: how to make a
Ring Toss Game |
| Basic Description |
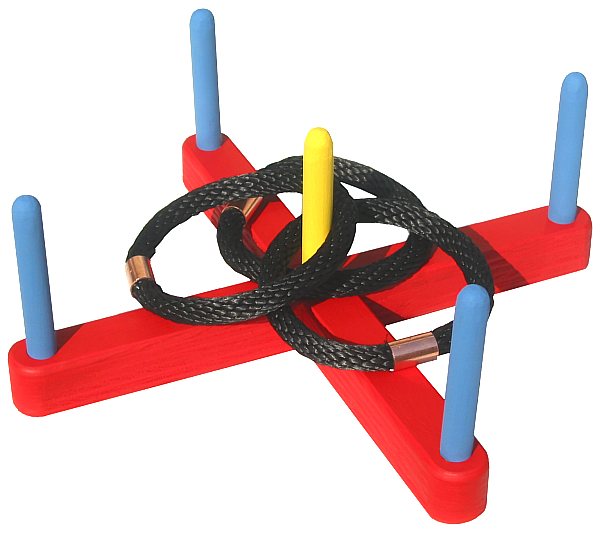
This ring toss game is easy to make by anyone with basic woodworking knowledge. The game
is great fun indoors or out, and is well suited for people of all ages. |
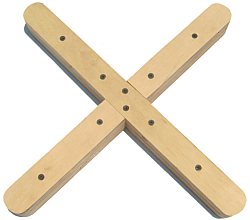
Next we are ready to complete the assembly of the base. Clamp the pieces
together on a flat surface to create a cross. The side facing up will become the underside
of the base. All the pieces should fit squarely to each other - you can
confirm the squareness with a square. Using a countersinking bit, drill holes into the wood, but
do not penetrate through the other side (which will become of the top of the game). Drill
at least two holes in the center section where the two long pieces overlap, but leave room in the
very center for one of the wooden dowels.
|
 |
Drive screws into the holes that you have just created. You
can increase the holding power by using woodglue before assembling all of the pieces
together. Screws would surely be enough, as would glue alone, but since this game is designed
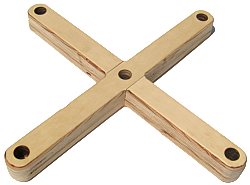
to endure years of rugged use, we relied on both. After assembly, you can round off the four ends by marking
radii and then removing the material with a disk sander. Once you are satisfied with the ends
you can knock off all of the edges using a router and a rounding over bit. The final step
in the preparation of the base, is to drill five holes (blind, not through) as shown in the image on the right.
The width of the holes, should match the diameter of the dowels that you are using, 3/4" (20mm)
in our case. |
 |