 |
free plans: how to make
Date Blocks |
| Basic Description |
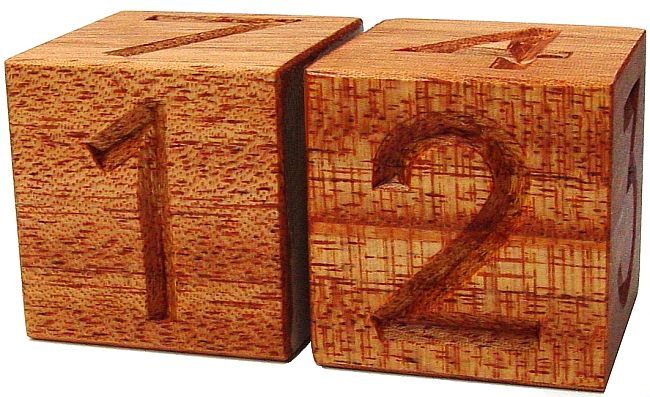
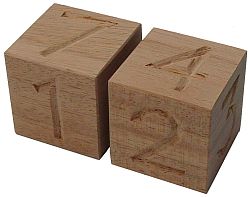
Here is a free plan for an remarkably simple yet classic date display. The two cubes make
a perfect desk item to help you remember what day of the month it is.
It turns out that you can display all of the days of a month (one to thirty-one) with only
two blocks even though each of the blocks only has six faces. Read on to see how this works and
for additional ideas such as a month display. In this plan, we show you how to carve the numbers
into wood, but as described in the design considerations section at the end, you could also
paint or apply the numbers onto the blocks. |
Once you have created two identical cubes, you can start the numbers. The most
critical thing is that you put the proper numbers on the cubes. The order and orientation is not
functionally critical, but you might want to think about a pleasing orientation.
On one cube include the following numbers: 0, 1, 2, 3, 4, 5 and on the other cube include
these: 0, 1, 2, 6, 7, 8. Note that '6' will serve as both 6 and 9.
We printed some large numbers with a computer printer (use a bold and sans-serif font) and using
clear tape positioned them on the cubes.
Clamp one cube in a vise and with a sharp hobby knife, you can transfer the pattern to the wood; cut around the perimeter
of the number and remove the paper; the shallow grooves created by the hobby knife will serve as your carving line. Alternatively you can use carbon
paper to transfer the pattern, but we prefer using a knife because the groove creates a perfect
place to start your carving cuts.
Next with
a chisel or carving knife, carve out the numbers by creating a angled channel. You can also
use a curved or angled gouge and create the channel. Note that the grain direction
changes depending on which side of the cube you are carving. The endgrain will be the most
challenging, but as long as your tools are sharp, you should be successful. It's best to practice this step on some scrap wood before
you put your cubes under the knife.
|
|
wiseGEEK
completely free! |
|
|
|
clear answers to common questions |
|
 |