
|
home gallery |
| projects philosophy faq | |
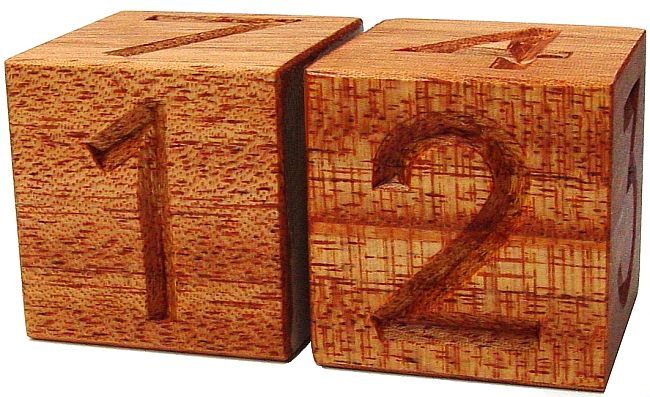 |
free plans: how to make Date Blocks |
| Basic Description | Here is a free plan for an remarkably simple yet classic date display. The two cubes make a perfect desk item to help you remember what day of the month it is. It turns out that you can display all of the days of a month (one to thirty-one) with only two blocks even though each of the blocks only has six faces. Read on to see how this works and for additional ideas such as a month display. In this plan, we show you how to carve the numbers into wood, but as described in the design considerations section at the end, you could also paint or apply the numbers onto the blocks. |
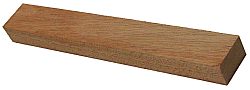
For this project you simply need to create two identical cubes. They can be of any size, but using anything smaller than 1 1/2" (38mm) on a side will make the number carving difficult. You can glue together as many layers of wood necessary to achieve the size that you are looking for. We used some 1" (25mm) thick mahogany and glued two pieces together to create a cube 2" on a side. If you are using rough lumber, you will need to surface a longer piece (remember to keep in mind the size limitations of your jointer and thickness planer - both have minimum length requirements). It is critical that all the surfaces are flat and square to the other faces. |
 |
|
© 2000-2008
terms privacy policy |
home gallery |
| projects philosophy faq | ||