
|
home gallery |
| projects philosophy faq | |
 |
free plans: how to make a Wall Clock |
| Basic Description | Here is a free plan to create a clock built into the wall of your choice. Simple battery-operated clock movements are inexpensive and easy to acquire. It is a relatively short process and you can give any room a more regal look with this simple project. Note that these plans are for installing a clock in a wall made of wallboard or drywall (brick, stone, or thick plaster walls cannot accommodate the shaft lengths of standard clock movements). |
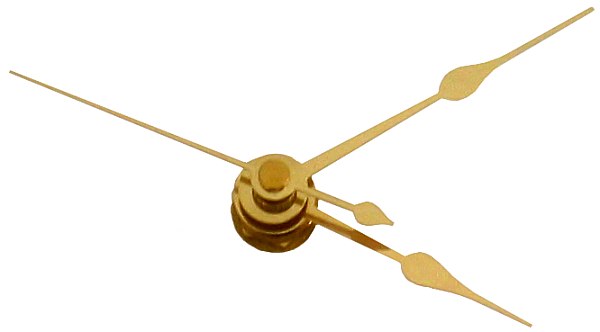
| Materials | Clock movement and battery. If you would like to cover the access hole (recommended), you will also need flush-mount cabinet hinges and a small piece of plywood. A complete material list is provided below. |
| Tools | Drill, proper-sized drill bit for shaft of clock movement, utility knife or jig saw, measuring tape. If you are planning on covering the access hole, see the complete tool list is provided below. |
| Cost | The plan itself is free! Estimated cost of materials: $12 |
| Time | 1 hour |
| Difficulty | Easy |
| Legal Notice | Use of this website constitutes acceptance of our terms of service policy. |

The first step involves acquiring the necessary materials and proper tools. It is best to get everything prepared before commencing because this allows you to progress without unnecessary interruptions. |
 |
| Item | Qty. | Description |
| #1 | 1 | Battery operated clock movement. These are commonly available at craft stores and also via online merchants. Ensure that the shaft of the clock movement is long enough to reach through the thickness of your wall. |
| #2 | 1 | Battery |
| #3 | 1 | If you are going to cover the access to the clock movement (see plan for details) you will also need flush-mount cabinet hinges, a piece of wood large enough to cover the opening, and appropriate fasteners for the hinges. |
| Tool |
| Drill and appropriately sized drill bit (see clock movement instructions for dimensioning). |
| Measuring tape |
| Utility knife or carbide cutter |
| If you are making an access panel, you will also need the necessary tools to prepare the access door: notably a saw and a router if you would like to provide a profile for the edges. |
|
© 2000-2008
terms privacy policy |
home gallery |
| projects philosophy faq | ||