
|
home gallery |
| projects philosophy faq | |
 |
free plans: how to make a Curvy Stripe |
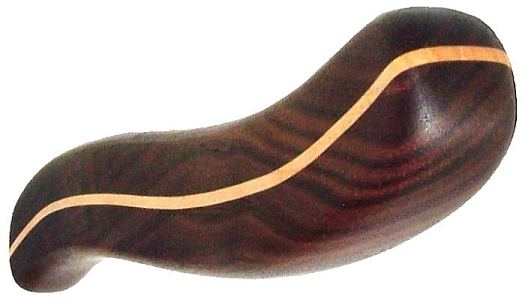
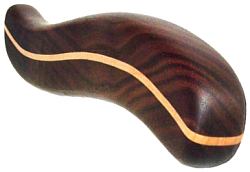
| Basic Description | In the free plan below, we illustrate a technique that that shows you how to incorporate a narrow stripe into almost any wood project. You begin with your primary wood, cut a curve, and then glue a thin sliver of a contrasting wood between. The result is a beautiful detail can be used to add sinuous curves to pulls, box tops, drawer fronts, table tops etc. |
design considerationsmaterialYou can use any wood you choose so long as the strip is flexible enough to bend into curve you have created. You should consider how the two woods look in tandem; we chose walnut and maple because they contrast significantly. To ensure strength and longevity, the grain of the base wood and the strip should go in the same direction. sizeThere isn't a size requirement other than the width of the strip. As described below, this technique could be used for a drawer pull or for a tabletop. |
 |
curveWith this technique, the curve must be gentle. The distance between the sides of the cut would vary too much if the curve was too drastic. ideasThis technique can be used in a wide variety of projects. You can use the technique to embellish almost any of the other wood projects described on this site. In addition you can incorporate a stripe as a detail to more common wood project including, furniture doors, drawers, pulls, knobs, table tops, box tops etc. |
|
© 2000-2008
terms privacy policy |
home gallery |
| projects philosophy faq | ||