
|
home gallery |
| projects philosophy faq | |
 |
free plans: how to make a Curvy Stripe |
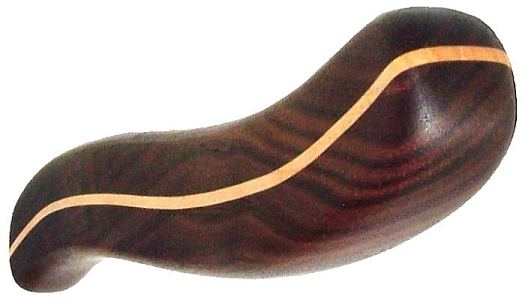
| Basic Description | In the free plan below, we illustrate a technique that that shows you how to incorporate a narrow stripe into almost any wood project. You begin with your primary wood, cut a curve, and then glue a thin sliver of a contrasting wood between. The result is a beautiful detail can be used to add sinuous curves to pulls, box tops, drawer fronts, table tops etc. |
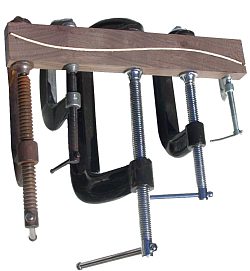
Next you need to clamp all of the pieces together. Keep in mind that clamps are doing two things for you during this glue-up: applying the necessary clamping force required by the glue and bending the strip into a curved shape. It is critical that you use a sufficient number of clamps. We used 5 C-clamps over a 12" (30cm) length. If you are using polyurethane glue, you can apply it to both sides of the strip and then clamp the assembly together. Yellow glue requires that you apply it to all mating surfaces. |
 |
|
© 2000-2008
terms privacy policy |
home gallery |
| projects philosophy faq | ||