
|
home gallery |
| projects philosophy faq | |
 |
free plans: how to make a Curved Panel |
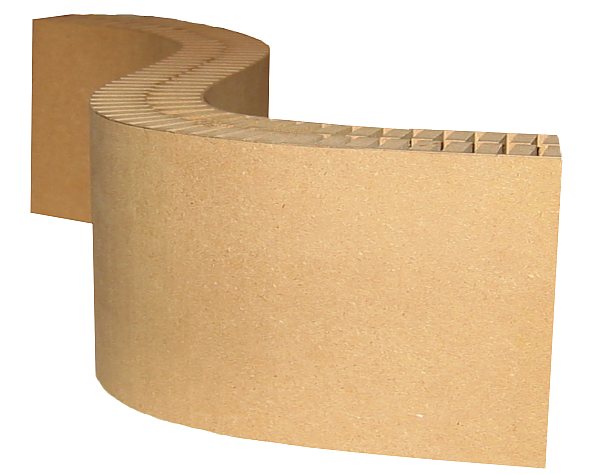
| Basic Description | The technique that we describe below allows you to introduce curves into a design. With properly placed cuts, you can create curved panels with remarkable strength. Such panels can be used for coffee table bases, room dividers, toys or anyplace else where straightness simply won't suffice. |
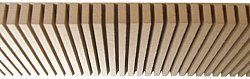
The process is of creating a curved panel is very straightforward. You simply need to cut a series of parallel cuts in the panel so that the table saw blade leaves a very thin amount of material at the bottom of each kerf. To lock the curve and to provide surprising rigidity, you glue another panel to the first with the grooved sides facing each other. In short you need to create two, identical panels with a series of parallel kerfs. We used a standard table saw blade that was 1/8" thick (3mm) and spaced the kerfs about 3/8" (10mm) apart. See the design considerations section below for more about the dimensioning. The most important dimension is the amount of material left at the bottom of each kerf. You can experiment on a test piece, but we recommend about 1/32" (1mm). Use a miter gauge or a crosscut sled to create the series of parallel cuts. Make sure you apply the same amount of downward pressure on the wood throughout the cutting process: slight variations in pressure will affect how deep your kerfs are. Note that table saw blades that cut square-bottomed kerfs work best. |
|
|
© 2000-2008
terms privacy policy |
home gallery |
| projects philosophy faq | ||