
|
home gallery |
| projects philosophy faq | |
 |
free plans: how to make a Curved Panel |
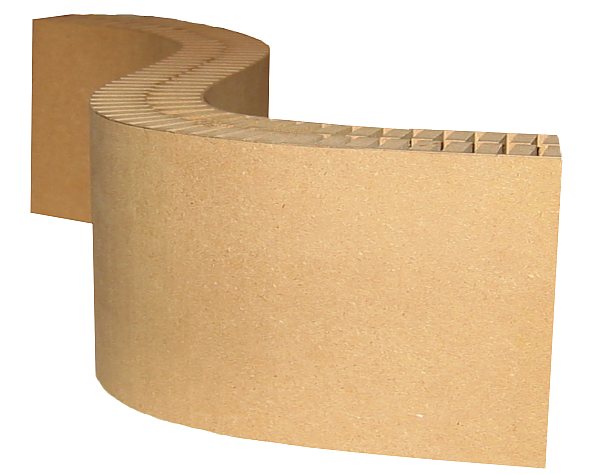
| Basic Description | The technique that we describe below allows you to introduce curves into a design. With properly placed cuts, you can create curved panels with remarkable strength. Such panels can be used for coffee table bases, room dividers, toys or anyplace else where straightness simply won't suffice. |
You will need two pieces for each curved panel. To simplify the process, you can make one larger piece and cut it in half to create the two requisite pieces. Experiment with a test piece to determine the amount of flexibility that your panel can yield. Be careful when flexing the panel, especially when bending it backward (away from the grooves); there is nothing to limit the bending in this direction and this makes the panel susceptible to breaking. A panel with less material at the bottom of each kerf will actually be more flexible and therefore less likely to break. You can glue the pieces together freehand, or if the final shape is important, you can make a simple curved clamping jig as shown on the right. Apply glue and clamp the two panels together with as many clamps as you can find. A helper is very beneficial during this step. After drying, you can patch the exposed edges of the panel with wood putty and follow with primer and then paint. |
 |
|
© 2000-2008
terms privacy policy |
home gallery |
| projects philosophy faq | ||