
|
home gallery |
| projects philosophy faq | |
 |
free plans: how to make a Cloth Envelope |
| Basic Description | This cloth envelope is a welcome retreat from the ordinary. In the free plan below, we'll show you how to make an envelope that helps elevate a letter well above standard pieces of mail. The recipient will immediately know that there is something special inside. Use them to mail invitations, letters, poems or anything you want to send to someone that is important to you. |
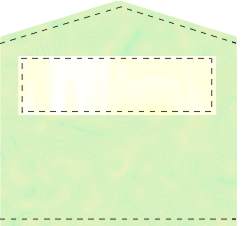
This step only applies to those that choose to sew the mailing label to the envelope as opposed to gluing it on. Sewing the label on adds some more time to the project, and it is also a bit tricky to get the label neatly centered on the envelope. We recommend that you cut the Tyvek to size by making it about 1" (25mm) narrower than the width of your fabric and 1" (25mm) shorter than your final envelope will be. This will leave a handsome border of fabric around the entire mailing label when you are done. Note that Tyvek is opaque and reversible so you can use almost any part of the Tyvek envelope that you have. We used a large Tyvek mailer and were able to easily make six mailing labels out of each one. Although it may be tempting, we recommend against sending the label through a computer printer - the heat can melt the label. You'll have to either handwrite the addresses or print out another adhesive label to affix to the Tyvek. |
 |
We pinned the Tyvek to the fabric so that its position would be maintained throughout the process. You can complete the sewing of the label in one step by stopping at each corner and rotating the envelope 90 degrees to continue sewing along the periphery of the mailing label. |
|
© 2000-2008
terms privacy policy |
home gallery |
| projects philosophy faq | ||