 |
free plans: how to make a
Vertical Wine Rack |
| Basic Description |
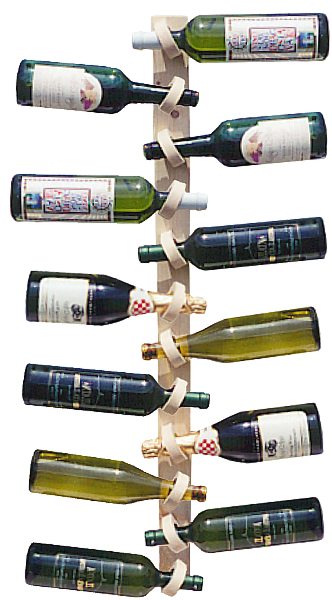
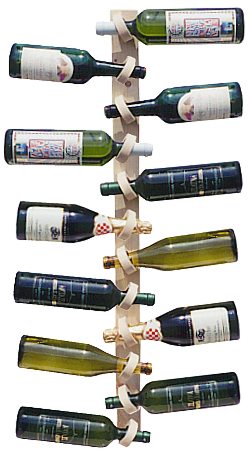
Here's a free plan for a remarkably simple wall-mounted wine-bottle storage rack that makes for an attractive display.
The design of the wine rack holds the bottles in a cantilevered position and employs a minimal
use of materials. You can group several of these holders made to the length of your choice
to hold anywhere from a few bottles to an extensive collection. In addition to wine, this holder is equipped to hold other bottles such as fine sauces or balsamic vinegar. |
mounting the wine rack
To use this wall mounted wine rack, you need to firmly fasten it to a wall or
other rigid surface. Finding wall studs would be ideal, but using toggle bolts is fine. If
you have plaster, or brick walls, use appropriate fasteners. If you would like to hide the
screw heads (nails will probably not be strong enough) you can drill a counterbore to recess
the screw head below the surface of the wood; you can cover these holes with plugs.
|
 |
dimensions
Thickness: We used a standard 3/4" (19mm) thick board for our wine rack; Thinner
stock would probably present stability problems and is not recommended. Width:
The width of the base and loops is variable, but 3" (76mm) worked well because a simple zig-zag
line worked well for the layout. Length:You can increase
or decrease on the length as desired. If you increase the length, ensure that you provide enough
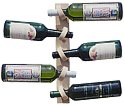
mounting screws to securely fasten the rack to the wall. Distance between loops: We used the zig-zag layout
lines as our guide; this technique provides a very pleasing and functional distance between
wine bottles as shown on the right. You can position the loops further apart, but that would be a less
efficient use of space. Positioning the bottles closer together is not recommended because inserting
and removing bottles would become more cramped and therefore difficult. |
materials
We used pine because it is easy to work with. A stronger wood
would have been better, but almost any wood would be suitable. We wouldn't stray from wood though because it is strong enough
to do the job, but soft enough so that you don't have to worry about scratching or threatening
the glass bottles.
shape
You can embellish the design by altering the shape of the components.
The version that we made used a simple rectangular shape for the base: this can be replaced with
any shape you like as long as it will provide a firm base. The loops can also be altered as long as the
centerline of each loop is at least 2 1/2" (65mm) from the wall. |