 |
free plans: how to make a
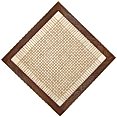
Framed Weave |
| Basic Description |
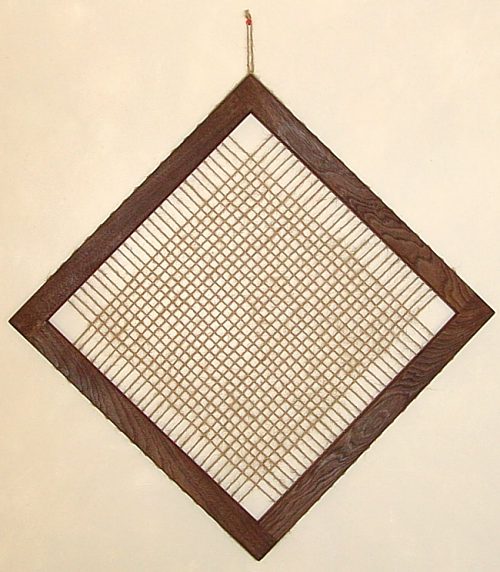
Here is a plan for a unique wall hanging made out of one piece of wood and one length
of string.
We are all surrounded by fabrics, but
the thread used in most cloth is pulled so tight that you might not even realize
that it is woven.
This project pays homage to the ancient craft of weaving through a pleasant and thought
provoking display. The frame is relatively straightforward, but the weaving will take some
patience. |
Once the finish has dried, all that is left is the weaving. First
you need to calculate the amount of string you will need. Measure the outside dimension of
the frame and multiply that number with the number of holes in one of the frame pieces and then
double that. Our frame is 21" (432mm) and we had 27 holes in each side of the frame. So we needed
1134" or 94 1/2'. You will need a little extra to wrap around the corners and to span from
hole to hole, so we recommend that you add an additional 10% to this figure. In the end, we
cut a piece about 105' long. Be careful in your estimations: underestimating would be very
frustrating, and overestimating will take you much longer to weave.
|
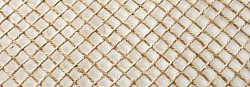 |
Next you need to begin the weaving process. Its best to tape one
end of the cut string with some stiff tape so it will be easy to thread it through the holes. Leave
about 10" excess after you thread the string through one of the holes at the corner of the frame. You
can tie a temporary knot to make sure that it doesn't get pulled through the hole. String it through the
hole on the opposing side of the frame and then return back at the next hole. You will have
to pull the entire length of string through the frame to do this and your patience will be tested.
Each step forward, however, means that there is that much less string that you will need to pull through.
The biggest problem is tangling, especially at the beginning when you are working with a large
quantity of string. There are many different ways you could avoid this tangling; we just asked a friend
to walk with the end in a straight line and then return when we were ready for the next one. The image
on the right illustrates the weaving process.
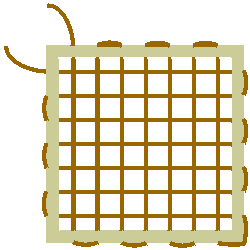
Once you have reached the end, pull the string around the outside of the
frame to the adjoining frame piece; thread the string through the first hole and begin the weaving.
Go over one and then under the next until you reach the end: thread the string through the hole
and pull until it is tight. Continue back and forth until you reach the end. After you have
completed the last hole, you can align all of the strings so they are parallel and tighten them
so that everything is taut. If you followed everything correctly, the beginning of the string
should be at the same corner as the end. You can untie the temporary knot that you made and then
tie the two strings together tightly at the corner of the frame. You can tie a loop (which
can be used to hang the display on a wall) with the remaining string.
|
|
wiseGEEK
completely free! |
|
|
|
clear answers to common questions |
|
|