
|
home gallery |
| projects philosophy faq | |
 |
free plans: how to make Date Blocks |
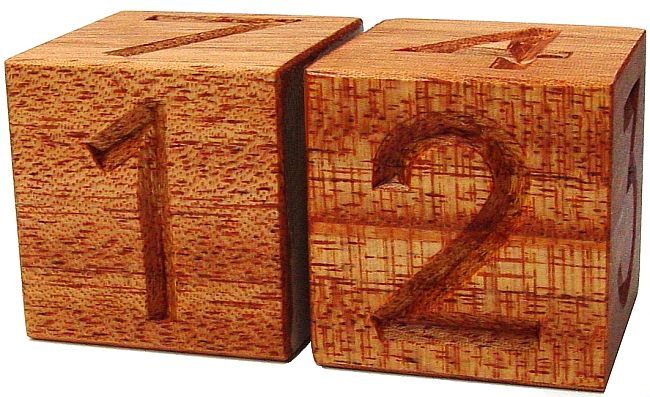
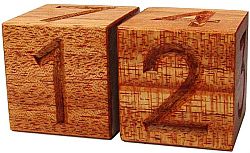
| Basic Description | Here is a free plan for an remarkably simple yet classic date display. The two cubes make a perfect desk item to help you remember what day of the month it is. It turns out that you can display all of the days of a month (one to thirty-one) with only two blocks even though each of the blocks only has six faces. Read on to see how this works and for additional ideas such as a month display. In this plan, we show you how to carve the numbers into wood, but as described in the design considerations section at the end, you could also paint or apply the numbers onto the blocks. |
Once the numbers are complete, you are ready for the final step. Sand all the pieces using progressively finer grits of sandpaper (we used the grits in the following order: 100, 120, 150, 180, 240, 320, 400) and it's probably a good idea to sand off the sharp corners as well. |
 |
Once all of the pieces sanded, they are ready for a finish. You can use a stain and follow with a polyurethane. We used three coats of antique oil which is an oil/ varnish blend consisting of mineral spirits, oil, and a spar varnish. For more detailed information regarding finishing, consider Understanding Wood Finishing by Bob Flexner. Let the pieces completely dry before use. |
|
© 2000-2008
terms privacy policy |
home gallery |
| projects philosophy faq | ||